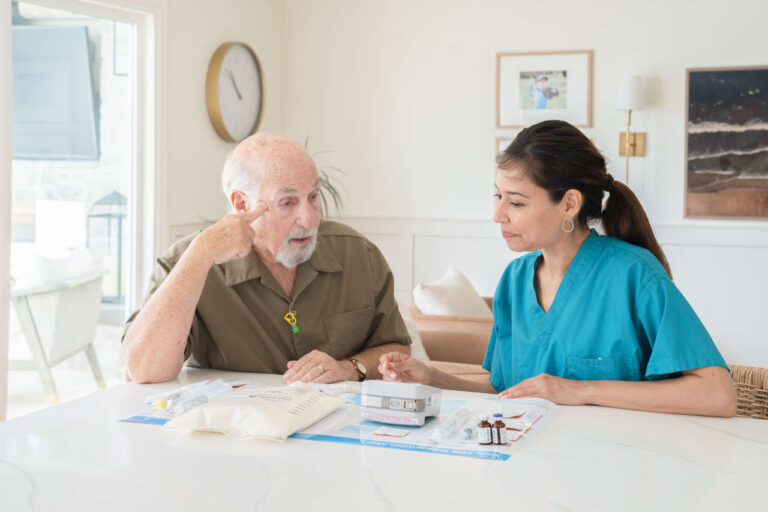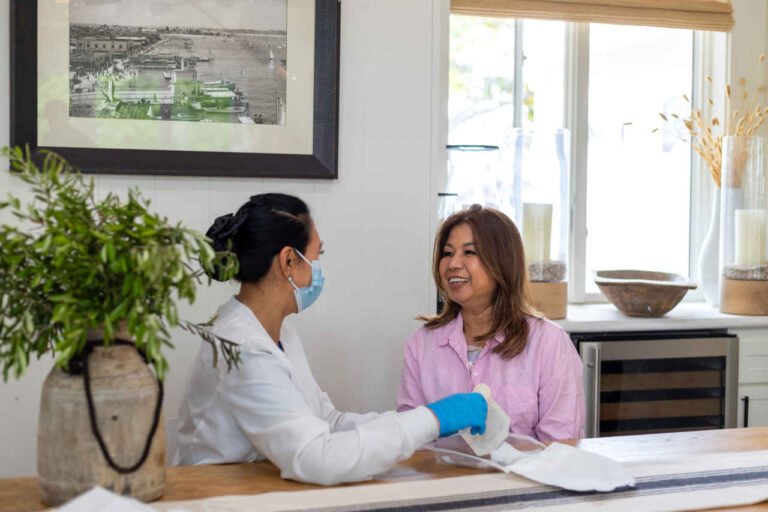
Total parenteral nutrition (TPN) administration can be safe and easy when you follow the instructions given by your doctor or healthcare nurse.
IV Fluids Fully in Stock
Consistent availability, uninterrupted careIf you’re looking for instructions on how to administer TPN at home, this guide can help. Our step-by-step guide is designed to assist patients with parenteral nutrition.
By following these guidelines, you or your caregiver will know how to set up the TPN infusion and administer the bags at home.
Living With TPN at Home (What to Expect)
Receiving TPN at home can be a big adjustment, but many patients find that it becomes manageable with the right training, routine, and support from their care team.
Potential Benefits of Home TPN
- More independence and improved quality of life (many people can continue work, social activities, and travel with planning and medical guidance).
- Comfort of a familiar environment, which can reduce stress and support emotional well-being.
- Personalized care and potential cost savings compared with prolonged hospital stays, depending on your plan and care needs.
Common Challenges
- Handling and preparation may feel technical at first — even with training.
- Sterility and infection risk can be higher at home if hygiene steps are skipped, so consistent technique matters.
Quick mindset tip: It’s normal for the first few cycles to feel slow. Build a repeatable routine (same setup area, same order of steps, same checklist).
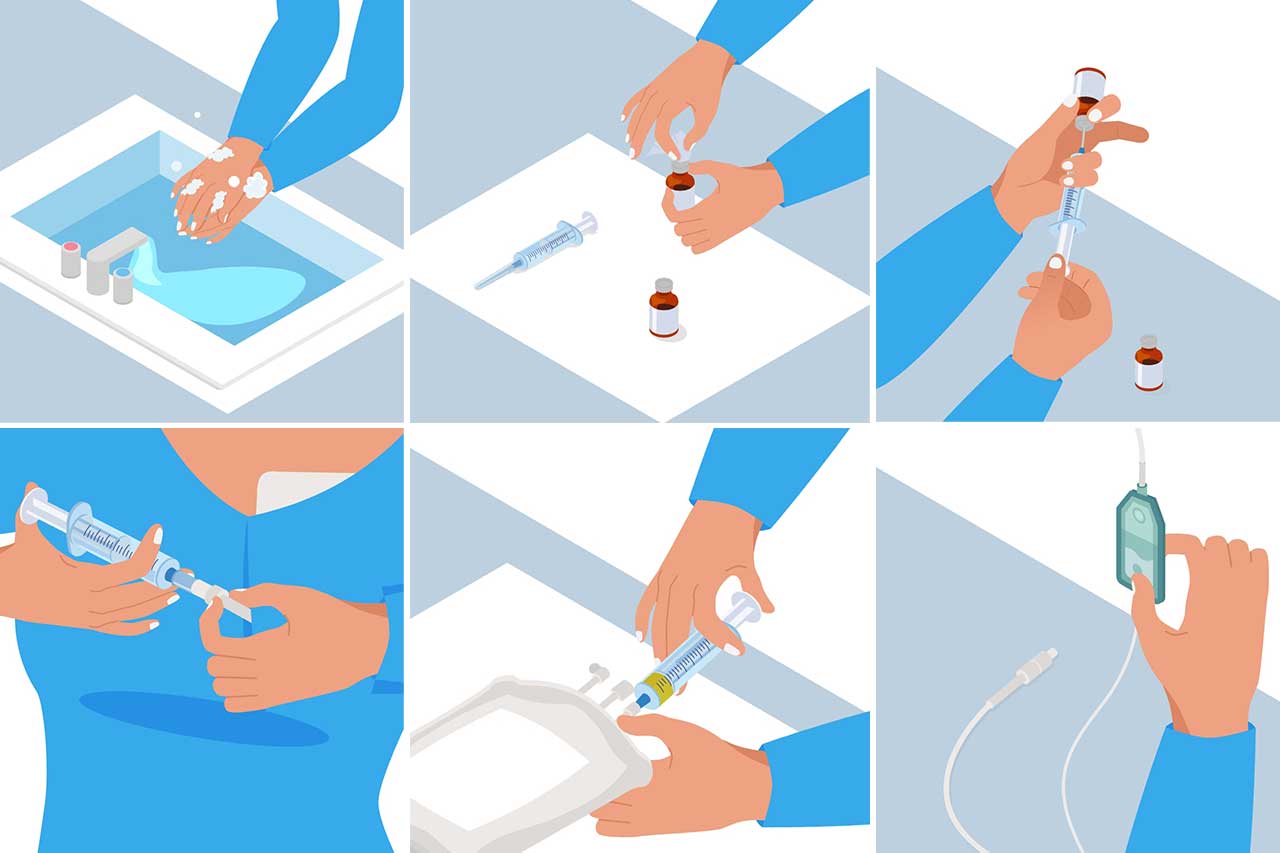
Key Steps To Administering TPN at Home
Below are the key steps to administering TPN safely. We will cover each step in greater detail below.
Make sure you follow each step carefully. In case of any unusual events during the TPN infusion process, call your healthcare nurse immediately to avoid severe complications.
- Gather Supplies
- Hand Hygiene & Surface Preparation
- Inspect the TPN bag
- Add Medications or Multivitamins Into the TPN Formula Bag
- Prime IV Tubing Through Infusion Pump
- Flush the Central Line With Saline Solution Before the TPN Administration
- Start the TPN Infusion Process
- Disconnect the TPN Administration Setup
- Flush Your IV Line with Saline, Followed by Heparin
- If You Are Not Connecting Another TPN bag, Secure Your IV Line Injection Port With an Alcohol Cap (or Curos)
- Dispose of Used Supplies
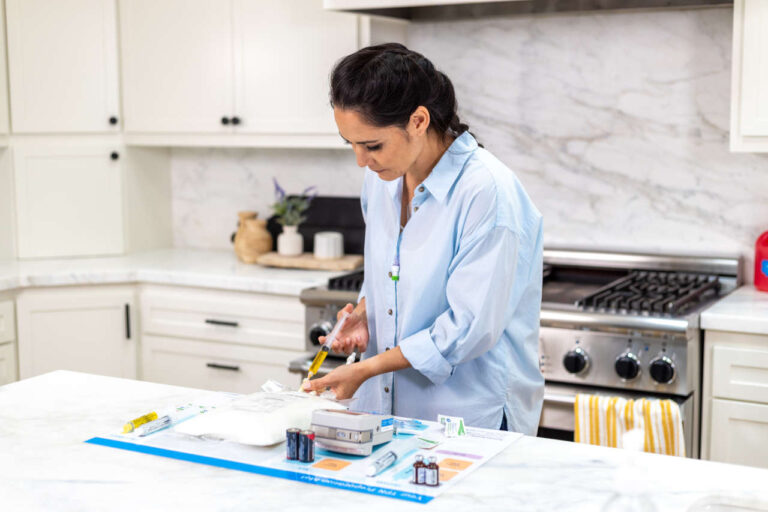
Step 1: Gather Supplies
Before learning how to administer TPN at home, you must gather all the supplies and assemble them on a clean surface. Make sure you have all the supplies required for TPN infusion. The list of TPN supplies mainly includes the following:
- TPN Prep Mat
- TPN Bag
- One 10 ml syringe and one needle. You may need additional syringes/needles if you are adding multiple additives to the TPN bag before administration
- Prescribed additives or multivitamins
- Curos cap(s) to secure your IV site when not in use
- IV administration tubing (Curlin tubing set)
- Infusion pump (Curlin pump)
- 2 “C” batteries
- Alcohol pads
- Two normal saline (sodium chloride 0.9%) and one heparin prefilled syringe to flush the central line
- Sharps container to discard used sharps such as needles and syringes
Optional but helpful items (recommended for home setup):
- A dedicated clean storage space for TPN supplies (away from pets/children)
- A thermometer (for daily temperature checks if recommended by your care team)
- A simple daily log (weight, temperature, infusion start/stop time, intake/output — see monitoring section below)
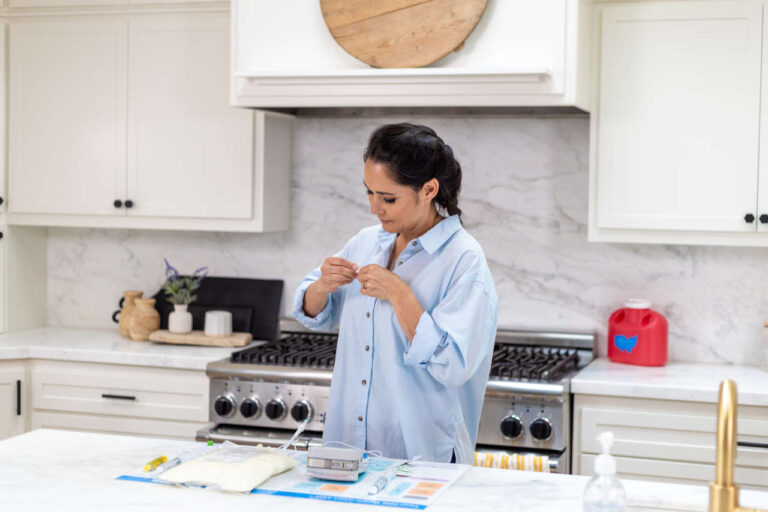
Step 2: Hand Hygiene & Surface Preparation
To learn how to administer TPN safely, you must ensure proper hand hygiene and a clean work surface before preparing your infusion. This is done to avoid introducing germs or an infection.
- Before TPN administration, clean the TPN placement area with alcohol pads or a disinfectant wipe. Allow it to dry. Ideally, you should use a TPN mat or one of the sterile drapes sent to you for your placement area.
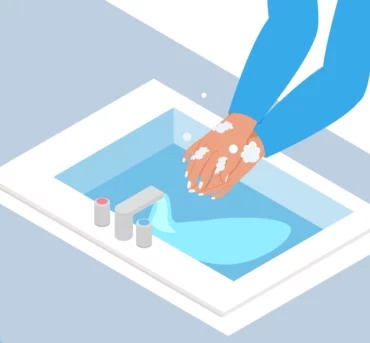
- Wash your hands thoroughly using antibacterial soap and warm water (see Figure 1) or alcohol-based hand sanitizer if no soap is available. Proper hand washing should last for at least 20 seconds and then be dried with a paper towel or clean hand towel.
Always in Stock
Full inventory of IV fluids, ready for youStep 3: Inspect the TPN Bag
Storage & handling basics (before you inspect):
- Store compounded TPN bags in the refrigerator unless your pharmacy instructs otherwise.
- Keep bags on clean shelves with enough space to prevent punctures or food spills.
- Avoid storing TPN in the refrigerator door, where temperature changes are more frequent.
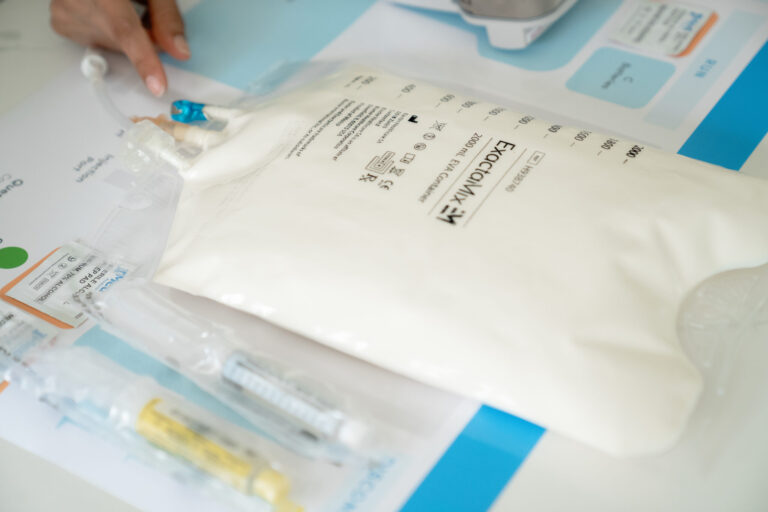
Inspect the formula before mixing your prescribed medications or multivitamins into the bag for TPN administration.
- Verify your TPN bag has your name on it.
- Verify that the expiration date is current and not expired.
- Ensure that your TPN solution is consistent in color. It should be free from cloudiness, visible fat particles, or crystals.
- Ensure the TPN bag is at room temperature if you want to learn how to administer TPN correctly. Remove the TPN bag from the refrigerator 2 to 3 hours before your next TPN cycle. Infusing cold TPN solution directly from the refrigerator can make you uncomfortable and cause chills and headaches.
How to warm TPN safely:
- Let the bag warm naturally on a clean countertop for 2–3 hours until it reaches room temperature.
- Infusing cold TPN straight from the refrigerator can cause chills, headache, and discomfort.
- Do not speed-warm TPN using a microwave, oven, stove, hot water, or direct sunlight.
- If you’re unsure whether a bag has been at room temperature too long, contact your pharmacy before using it.
Step 4: Add Medications or Multivitamins Into the TPN Formula Bag
Step 4.1: Withdraw Medication/Multivitamins From Vial
If your doctor has prescribed multivitamins (MVI), you will receive two vials: one blue-topped and one white-topped vial (equal to one dose). Each will be added to your TPN formula bag.
Before using the multivitamins or other medication, check the label for directions, dose, and expiry date.
- Lay the bag on your work surface with the ports hanging off the table before TPN administration.
- Remove the protective cap of your multivitamins (MVI) vial.
- Clean the top of the vial using an alcohol pad by wiping the exposed top one time for at least 15 seconds and allowing it to dry for 10 seconds (see Figure 2). Use a separate alcohol pad for the second vial.

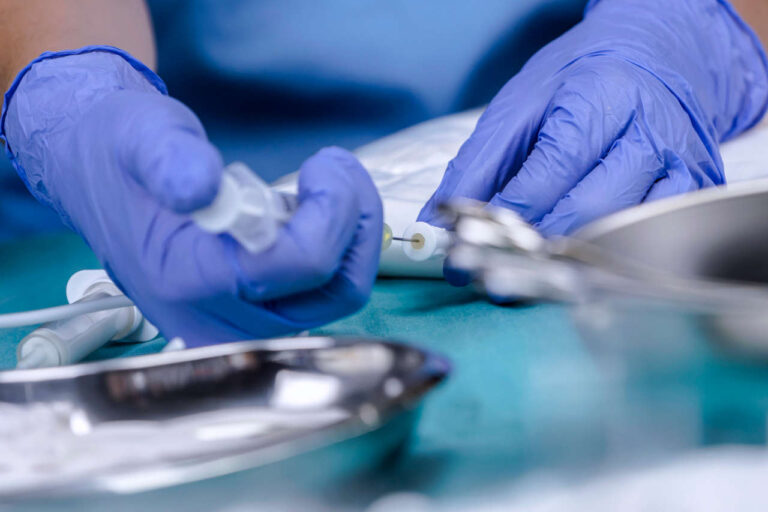
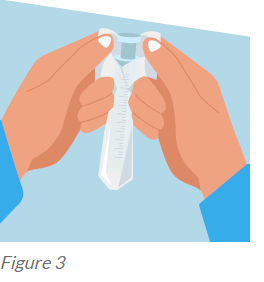
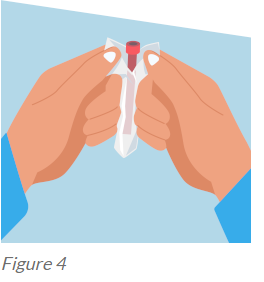
Open the syringe package by holding the peel tabs and peeling them back to expose the barrel (Figure 3). Repeat this process while learning how to administer TPN by peeling back the tabs of a needle package only enough to expose the hub of the needle (Figure 4).
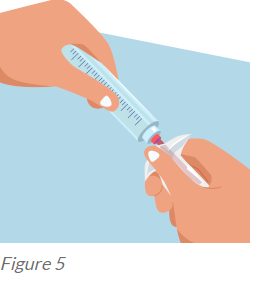
As shown in Figure 5, hold the syringe from the barrel in one hand and attach it to the partially exposed needle hub.
This will reduce the likelihood of touch contamination during TPN administration and the potential for contamination of the fluid path.
- Remove the cap from the needle.
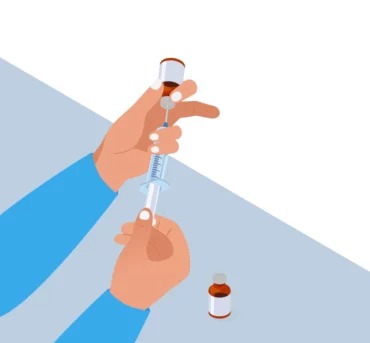
- Without touching the body of the plunger with your hands, pull back the syringe’s plunger to draw air into it.
The air in the syringe should be the equivalent amount of multivitamins to be drawn from the vials. For instance, if your healthcare provider prescribed taking 5 ml of multivitamins from the vial, draw 5 ml of air into the syringe first (see Figure 6).
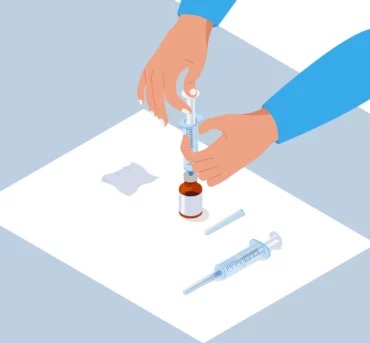
- Insert the syringe needle into the center of the vial’s rubber stopper and push the air into the vial (see Figure 7).
- Turn the vial upside down and withdraw the solution from the vial into a syringe (see Figure 8). After that, carefully remove the needle from the vial. To expel air or air bubbles from the syringe, gently tap the syringe and firmly hold the syringe with the needle pointed upright. Carefully push the plunger upward. Don’t allow any of the multivitamins to come out of the end of the needle. Do this until all air bubbles are removed if you want to learn how to properly administer TPN.
- Using the same syringe, repeat the process for the second multivitamin vial (MVI) and other prescribed medications, such as thiamin, folic acid, or famotidine.
If your additive comes in an ampule (not a vial):
- Tap the top of the ampule so the liquid settles to the bottom.
- Clean the neck/top area with an alcohol pad, then wrap with a clean pad to protect your fingers.
- Snap the top away from your body and discard the top in a sharps container.
- Use a filter needle to withdraw medication from an ampule (your pharmacy/nurse will instruct you if this applies).
- After withdrawing, switch to the appropriate needle per your instructions before injecting into the TPN bag.
Sterility reminder: Avoid touching the sterile parts of the syringe/needle and avoid letting the needle tip contact any surface.
Your IV Fluids, Always Available
Full inventory, hassle-free accessStep 4.2: Add Medication to the TPN Bag
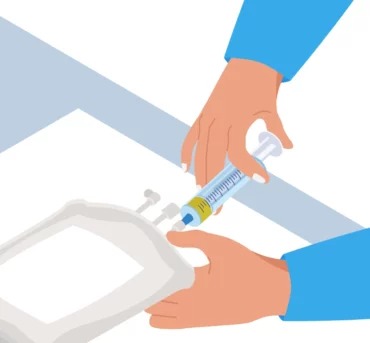
To inject the multivitamins or other medications into the TPN bag for administration, first, clean the injection port of your TPN bag with an alcohol pad for 15 seconds. Allow it to dry for 10 seconds. Make sure the injection port does not make contact with other items.
When inserting the needle into the injection port, keep a steady hand and avoid pushing the needle too far to reduce the risk of puncturing the bag. If the bag is punctured or leaks, do not use it — start over with a new bag and contact your pharmacy if you need guidance.
Now, insert the needle into the center of the injection port. Push the syringe plunger at a slow and steady pace to instill all the medications into the TPN bag.
When adding MVI to a clear TPN bag, the solution will change from clear to yellow (see Figure 9). When adding MVI to a white bag of TPN it will change from white to creamy white.
Remove the needle from the bag and discard the needle in the sharps container. Gently rock the bag several times to mix the vitamins and other medications with the TPN solution.
Note: If you see any leaks in the TPN bag, DO NOT use that bag and repeat the insertion process from step 1 with a new TPN bag. Make sure the new TPN bag is at room temperature.
Step 5: Prime IV Tubing Through Infusion Pump
A crucial step in learning how to administer TPN is understanding the priming step.
Priming is a process of withdrawing the solution from the TPN bag via the pump and into the IV tubing. This process removes air from the IV tubing before attaching it to the patient for TPN administration.
This process is vital. It prevents air from entering the bloodstream and reduces the risk of air embolism (a condition in which air bubbles block the passage of blood).
Most of the infusion pumps have an automatic prime feature in them. After attaching the IV tubing to the TPN bag, you will only need to turn on that feature.
- Put the batteries into the infusion pump and turn it on to prepare for TPN administration.
- Remove the IV tubing from its packaging and untie it. Your IV tubing has two ends of different shapes. One round tube end will attach to your catheter, and the other end with a spike tip will be inserted into the spiking port of your TPN bag.
- To spike the TPN bag for administration, remove the protective cover from the IV tubing’s spike tip. Don’t touch the tip. Otherwise, your TPN solution formula will become contaminated.
- Remove the cap from the spike port of the TPN bag and insert the spike tip of the IV tubing into the bag using a pushing twisting motion (see Figure 10).
- Use your infusion rate sheet to check your infusion settings if you want to learn how to administer TPN properly. Next, load the IV tubing to the pump as instructed in the manual.
- After that, select the “prime tubing” feature to begin priming your IV tubing.
- During priming, hold the filter on the tubing in the upright position with the arrow pointing upwards to prevent air bubbles in your tubing (see Figure 11).
- The TPN fluid will travel downward from your TPN bag until your tubing is completely filled with fluid.
- Once the priming process is complete, secure the other end of the IV tubing by tightening the end cap.
- Hold the bag up and let the TPN solution flow through the tubing until you see a few drops come out of the other end, then place the end cap back on.
IV Fluids, Ready When You Need Them
Consistent availability, uninterrupted care
Step 6: Flush the Central Line With Saline Solution Before the TPN Administration
To learn how to administer TPN, you must flush the lumen of your catheter (central line) before infusion. This process removes medication residues that may have been left during the last infusion while preventing the risk of blockage during your TPN infusion process. The saline solution is compatible with your body fluids and only consists of salt and water to clear the central line.
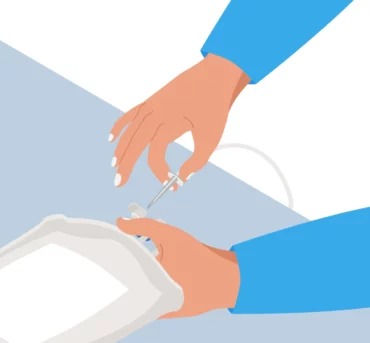
- Clean the injection cap of your IV catheter using an alcohol pad. Vigorously wipe it in a twisting motion for 15 seconds. Then, allow the cap to dry for 10 seconds.
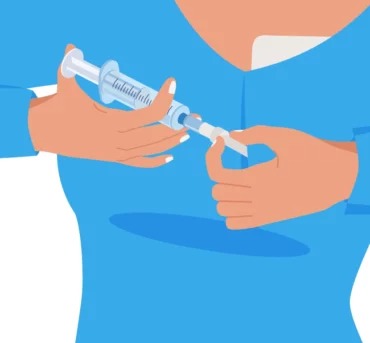
- Hold the saline syringe straight with the cover cap pointing upward and push the plunger to remove air bubbles (see Figure 12). Remove the cap and push out any remaining air.

- Without touching the tip of the injection cap, insert the saline syringe into the center of the IV catheter cap (see Figure 13).

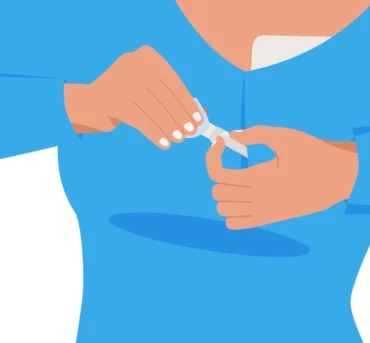
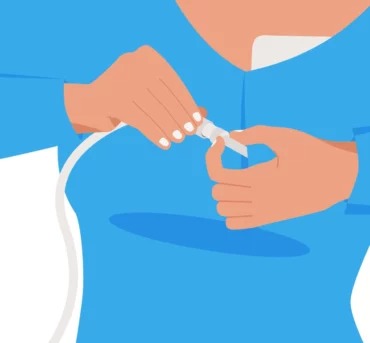
- Once inserted, push and twist the saline syringe clockwise to secure the connection and unclamp the IV extension of the catheter.
- Flush your central line with saline in a push-and-pause method as instructed by your nurse when teaching you how to administer TPN. In this method, you will first push the plunger and then pause for a second and push the plunger again until your central line is completely flushed (see Figure 14).
- Now, clamp your central line and remove the syringe by holding the bottom of the injection cap (not the central line).
Note: Do not use a lot of pressure during flushing. Stop the procedure immediately and contact your healthcare nurse if you feel pain, burning, or swelling.
Step 7: Start the TPN Infusion Process
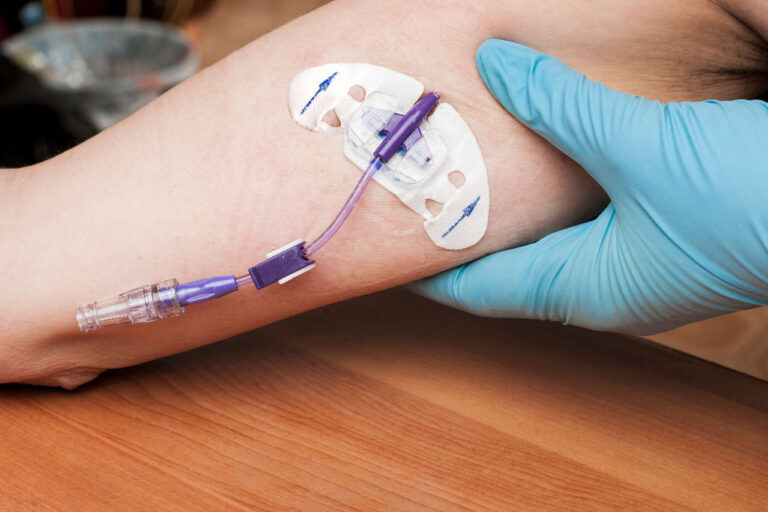
- Scrub the injection cap of your IV catheter with an alcohol pad vigorously for 15 seconds and let it air dry for 10 seconds (see Figure 15).
- Remove the protective cap at the end of the IV tubing and connect it to your catheter. Use a push and twisting motion to secure the connection (see Figure 16).
Note:Be careful not to touch the tip of the IV tubing.
- Start the pump as instructed by your nurse. The pump will have a pre-programmed setting according to your infusion rate sheet. Make sure you check the setting every time before activating the pump.
If you are learning how to administer continuous TPN feeding, start preparing your next TPN formula bag an hour before the time of administration.
To prepare your next bag for TPN administration, follow Step 3 (Inspect TPN Bag) and Step 4 (Add Medications or Multivitamins Into the TPN Formula Bag).
When it is time to change your bag, repeat Step 5 (Prime IV Tubing) and Step 6 (Flush the Central Line With Saline Solution). If you need to pause the infusion for any reason, please follow the instructions in the pump guide.
Step 8: Disconnect the TPN Administration Setup
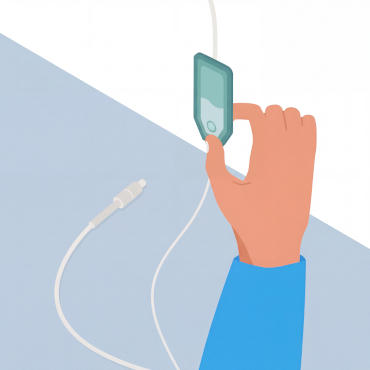
Your pump will alert you once your TPN infusion process is complete.
Your pump will show the alarm, “infusion complete,” and go into KVO (keep vein open) mode.
- Press the “RUN/PAUSE” button. The pump will read “REPEAT RX” AND “NEW PROGRAM”. Press the “ON/OFF” button to power down your pump.
- Disconnect the TPN IV tubing from the catheter.
- Scrub the IV cap with alcohol for at least 15 seconds.
No Delays, Just Reliable Care
IV fluids fully stocked for your needsStep 9: Post Flush the Central Line With Saline, Followed by Heparin
If you are doing cyclic feeding, get a prefilled saline syringe and a heparin syringe for flushing the central line after TPN administration.
First, flush the central line with saline and then with heparin (if ordered). Repeat the following steps if you want to learn how to administer TPN properly:
- Hold the saline syringe with the tip upright and gently push the plunger forward to expel air bubbles from the syringe, as described in Step 6.
- Now, use a new alcohol pad to scrub the catheter injection cap and repeat steps 3 to 6 from Step 6: Flush the Central Line With Saline Solution Before Infusion.
- For a heparin flush, repeat the same steps you’ve followed for a saline flush.
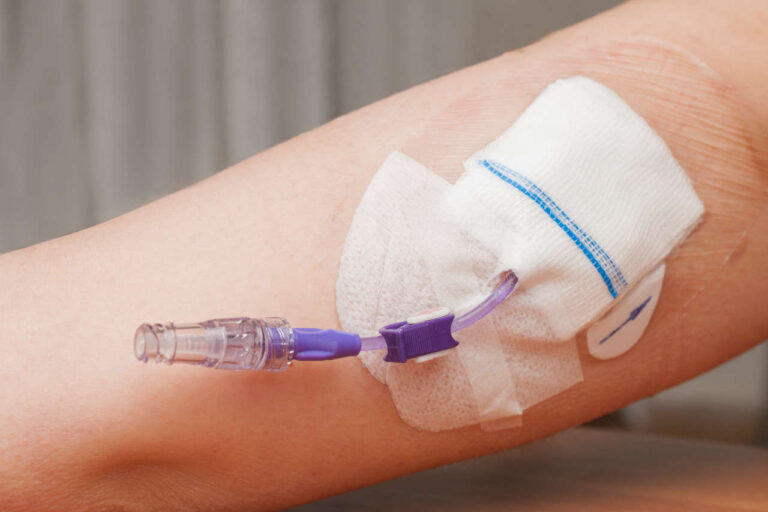
Step 10: If You Are Not Connecting Another TPN Bag, Secure Your IV Line Injection Port With an Alcohol Cap (or Curos)
After TPN administration and the final flush, re-clamp your central line, then put a green Curos cap to cover the injection cap.
You can also put your catheter in a stockinette or small cloth sleeve so it does not freely hang around.
Step 11: Dispose of Used Supplies
Throw the needles into the sharps container. Discard the TPN bag with IV tubing and syringe in a garbage bag. Change the batteries in the curlin pump.
Even if you learn how to administer TPN correctly, you might encounter problems during the process. Here are some tips to help you navigate the challenges during infusion.
Seek medical attention immediately if:
- You experience a break in the catheter line
- You experience leaking in the catheter during TPN administration
- You have a temperature greater than 100.5 degrees
- You experience chest pain
- You experience sudden shortness of breath or increased shortness of breath
If your catheter is leaking, use your Dravon clamp and go to the ER.
Consult your healthcare provider if:
- You have a temperature greater than 100.5 degrees
- Your catheter is broken
- You are struggling to flush the catheter (central line)
- You experience high blood pressure during TPN infusion
- There is a new onset of headache or migraine
- There are other complications
Consult your pharmacist
A TPN (Total Parenteral Nutrition) patient should consult their pharmacist if they have any queries or need assistance regarding any aspect of their TPN administration.
Specifically, TPN patients should consult their pharmacist if they experience any of the following:
- Problems with the administration or infusion of their TPN medication (including pump issues)
- Concerns regarding the compatibility or interactions of their TPN medication with other drugs or supplements
- Adverse effects or allergic reactions to the TPN medication or ingredients
- Changes in the dosage or duration of their TPN therapy
- Any adverse changes in lab values or monitoring parameters associated with their TPN therapy
- Any upcoming healthcare changes like surgery or medication shifts that could affect their TPN therapy
- Inquiries related to the storage, handling, or disposal of medications and equipment for TPN administration
- Need clarification of instructions regarding the administration of medication
- Consultation on medication management, refill, or any insurance-related queries
The pharmacist is the medication expert on the healthcare team. They can provide dosage recommendations, compatibility knowledge and monitoring assistance, and guidance on nutrition management.
Therefore, TPN patients can receive invaluable assistance and learn how to administer TPN correctly by consulting the pharmacist in various aspects of their therapy management.
Do you want to receive at-home TPN infusions from trained nurses? Contact AmeriPharma® Specialty Pharmacy and talk to a patient navigator to begin treatment.
How to Take Care of Your Catheter (Central Line) and Keep It Safe
Central line care is critical for infection prevention and safe infusions. Always follow your nurse’s exact instructions, but general safety tips include:
- Clean your work area and set up supplies with enough space to avoid accidents.
- Wash hands thoroughly before touching catheter supplies or your line.
- Scrub the injection cap with alcohol for the recommended time before each connection/disconnection.
- Do not touch sterile syringe needles or tubing ends. If contamination happens, discard and replace with sterile supplies.
- Avoid using sharp objects (scissors/knives/pins) near tubing, bags, or the line.
Keep the catheter area clean and dry; cover it as instructed when showering/bathing.
Flush exactly as instructed (e.g., saline before/after; heparin if prescribed). - If you notice damage, leaking, swelling, increasing redness, or pain around the site, contact your care team immediately.
Monitoring Yourself While on Home TPN
Monitoring helps your care team adjust your formula and catch issues early. Follow your clinician’s instructions, but many patients are asked to track:
- Weight: Weigh yourself at the same time each day, wearing similar clothing. Report unusual or rapid weight changes.
- Temperature: Check temperature daily (or as directed). If you have a fever or feel unwell, contact your care team.
- Blood sugar (especially if you have diabetes or your team recommends it): Use your recommended glucose monitoring method and report values outside your target range.
- Intake: Track oral fluids (water, coffee/tea, juice, soup, etc.) and any additional IV fluids/meds if applicable.
- Output: Track urine and other output your care team requests (stool/vomit/fistula drainage). Significant changes can matter clinically—report unusual increases/decreases.
Tip: Keep a simple daily log (date, infusion start/stop time, weight, temp, symptoms, line site notes). It makes follow-ups much more productive.
Practical Tips for Managing TPN at Home
- Get comfortable with your routine: same clean setup area, same step order, and a checklist.
- Plan infusion timing around your schedule — many infusions run 10–24 hours, depending on your prescription.
- Inspect your bag each cycle (appearance/particles/label) and confirm it’s at room temperature before starting.
- Monitor your line site regularly and keep up with follow-up appointments so your team can adjust your formula if needed.
- If you travel or have a schedule change coming up, plan ahead with your care team and pharmacy.
Start Your TPN Home Infusion Care Today
AmeriPharma® Specialty Care provides personalized home TPN therapy with 24/7 clinical support, insurance coordination, and direct-to-door delivery. Get started today with a trusted specialty pharmacy that makes managing TPN easier.
Resources
A Complete Guide to TPN Therapy
What to Expect When Starting TPN
10 Tips for Adjusting to Your Life With TPN (Total Parenteral Nutrition)