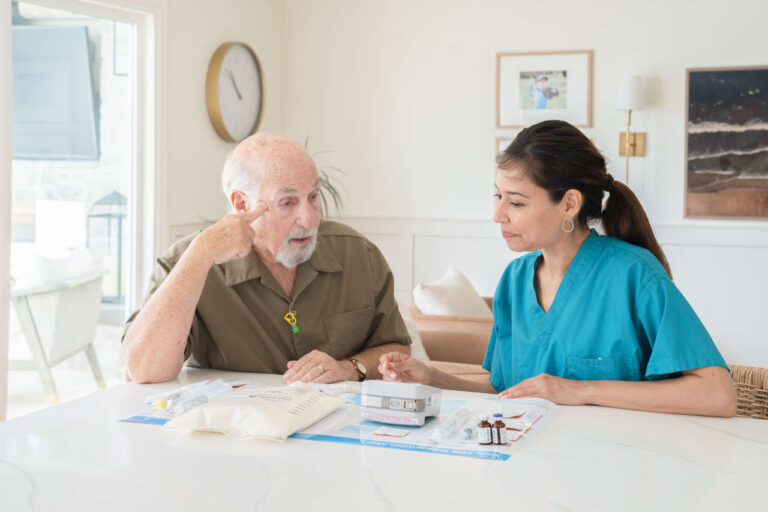
If you or your loved one requires total parenteral nutrition or TPN for a long period of time, your healthcare provider will order TPN nutrients to be administered through a central line, also known as the central venous catheter (CVC), into your body.
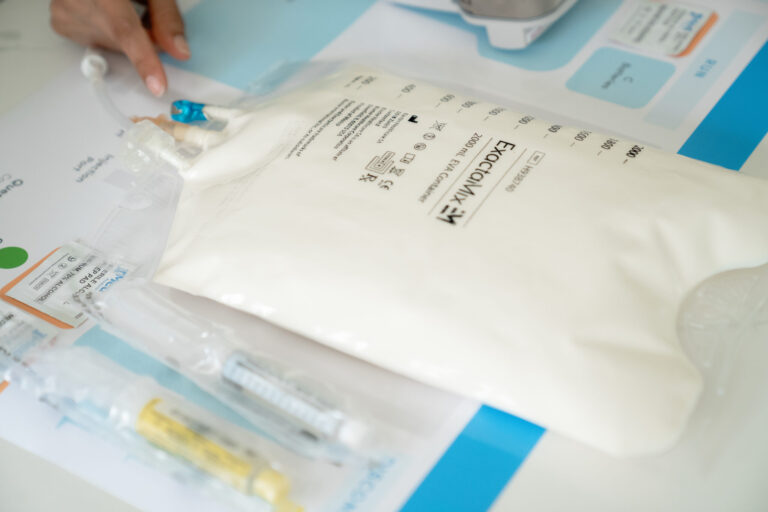
IV Fluids Fully in Stock
Reliable supply for uninterrupted careA central line or central venous catheter is a soft, thin, and flexible hollow tube that is inserted in a large vein, usually the veins located near the neck or chest. Unlike a regular IV tube, a central line tube is much longer and can stay in place for a month to several years. Furthermore, large amounts of fluids can be delivered easily through a central line, which would not be possible through peripheral catheters.
In this article, we will discuss the main types of central lines as well as some guidelines that you can follow prior to or while receiving TPN nutrition through a central line.
Types of TPN Central Lines
Central lines or central venous catheters are categorized into external central lines and internal central lines. External central lines include peripherally inserted central catheter (PICC) and tunneled CVC, while internal central lines include implanted ports. Each type is unique and has different insertion points.
External Central Line
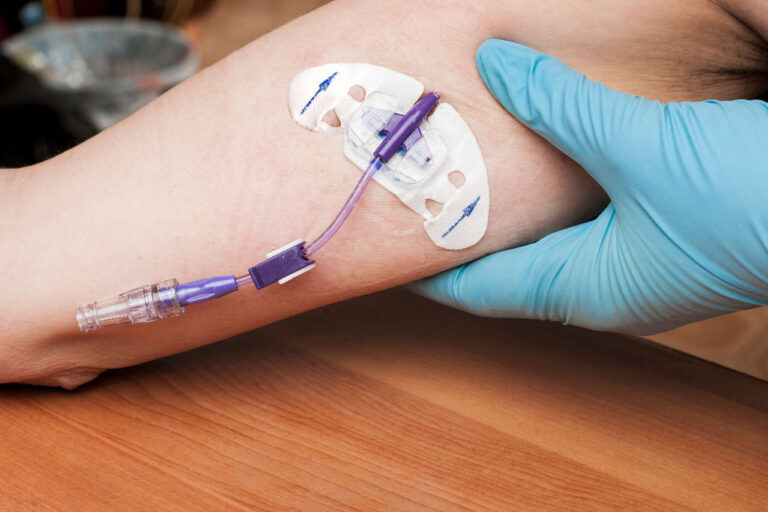
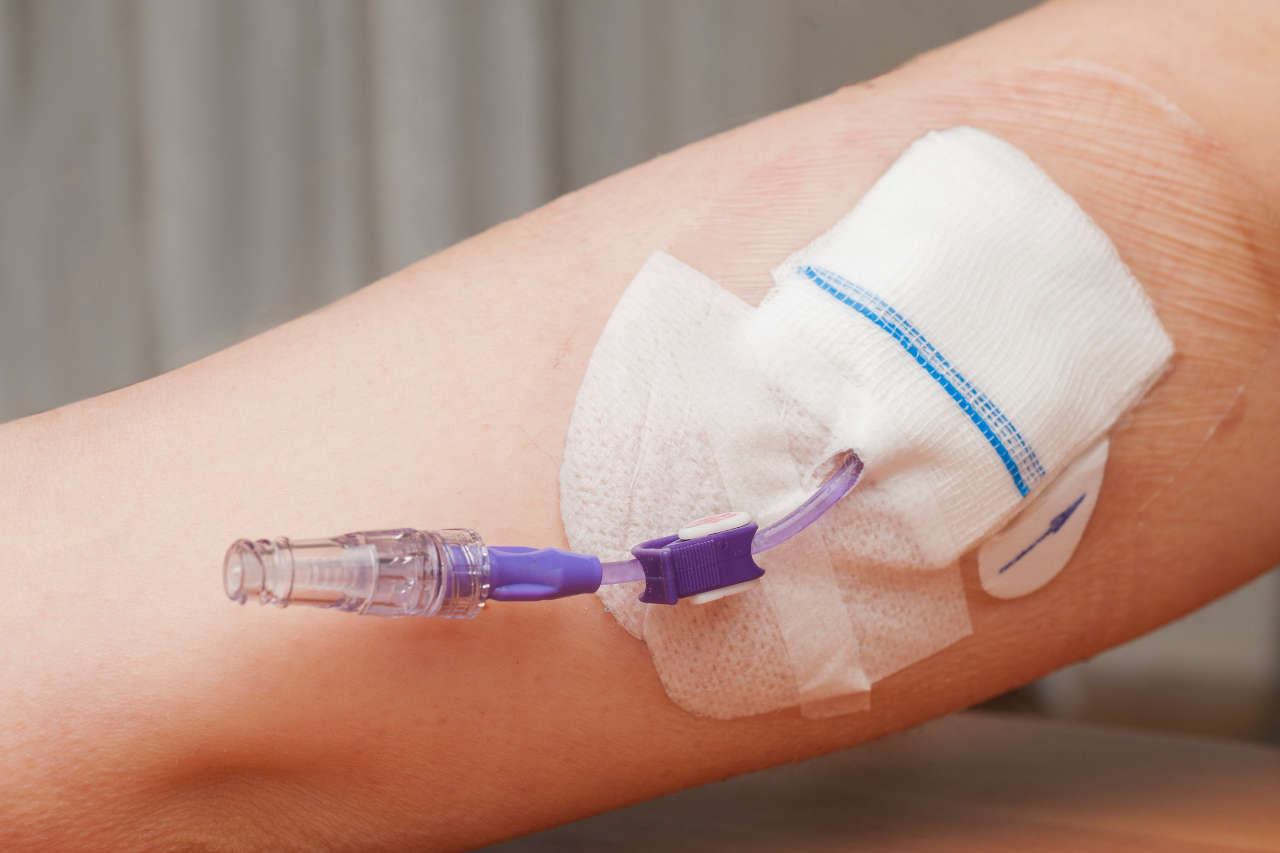
In a peripherally inserted central catheter (PICC) or tunneled CVC, a catheter is inserted in one of the veins of the upper arm (such as a basilic, brachial, cephalic, or medial cubital vein) or chest. This line is further advanced into a large vein above the right side of the heart (superior vena cava). The procedure of inserting a catheter is done by a registered nurse, doctor, or trained healthcare professional.
The other end of the line branches out to one or two smaller tubes called lumens, which, when connected to an infusion tubing, are used to deliver essential nutrients from the catheter directly into the vein.
Internal Central Line
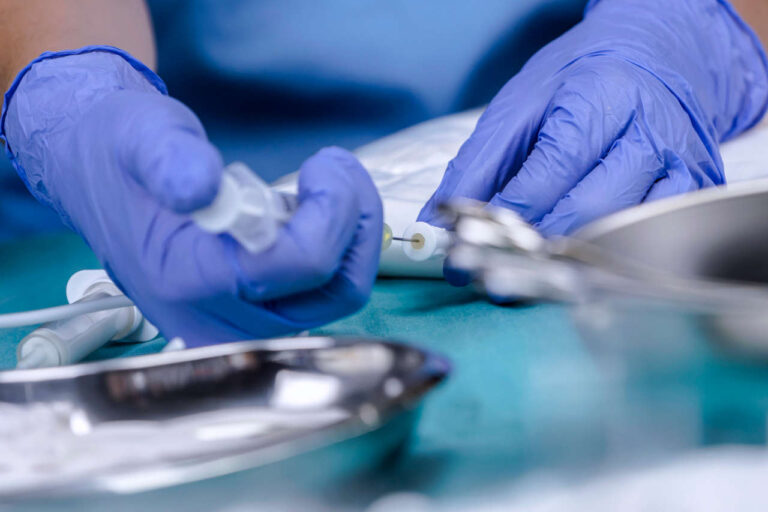
In an implanted port, a catheter is surgically inserted completely under the skin by a trained physician. This central line is usually placed in the chest and may sometimes be placed in the upper arm.
The one end of the implanted port’s tube goes into the large vein, while the other end leads to a small rubber disc under the skin. Nutrients are administered with the help of a special type of needle called a Huber needle, which is inserted through the skin into the port reservoir.
Unlike the external central line, where the catheter tube sticks out the skin, in the internal central line, the catheter does not stick out of the skin except for a small bump you’ll feel under the skin.
Central Line TPN Guidelines
Prior to TPN therapy, your healthcare provider will educate you about central lines, the type of central line you have, and how you can inject nutrients as well as maintain infusions at home.
TPN Central Line Care and Maintenance
Before and after TPN infusion, it is important to protect your central line catheter from infection when not in use. In most cases, the central line lumen is flushed (clean) with a saline solution. This helps to remove medication residues that may have been left during the last infusion and to prevent the risk of blockage during your TPN infusions.
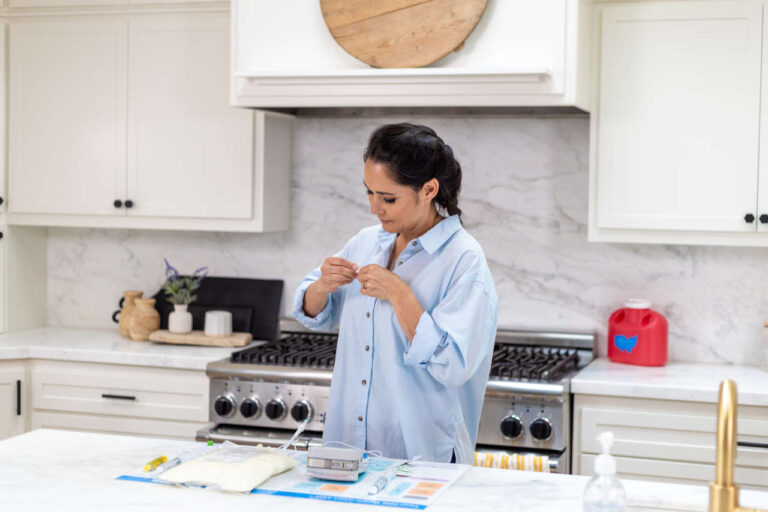
Flushing the Central Line Lumens

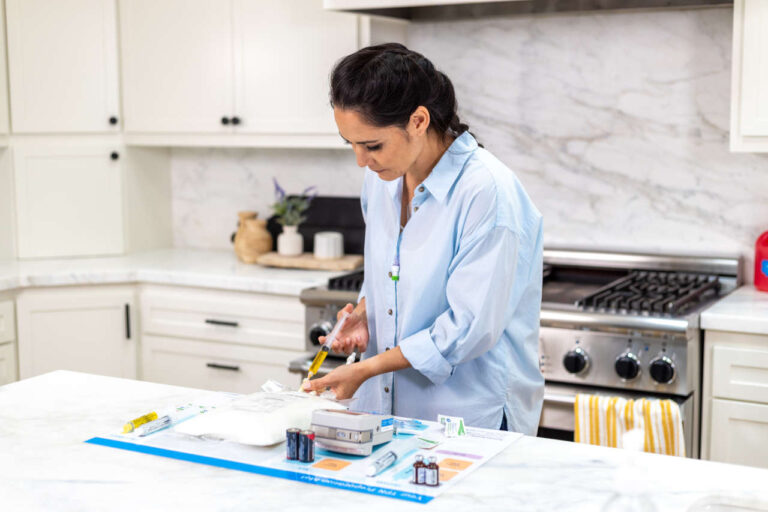
- Gather your supplies, including gloves, alcohol pads, aseptic caps, saline and heparin pre-filled syringes.
- Wash your hands and put on gloves.
- Remove the end cap and clean the outside of the lumen with an alcohol pad for 15 seconds in a twisting motion. Let it dry for 5 seconds.
- Attach the pre-filled saline syringe to the lumen by pushing it onto the lumen and turning it clockwise to lock it in place.
- Release the clamp on the lumen of your CVC and slowly start to flush the lumen by pushing down the plunger slowly.
- Push about 1 – 2 ml of saline at a time using the push and pause method until all the saline is used from the syringe.
- Clamp the lumen back and unscrew the saline syringe in a counter-clockwise motion.
- After flushing the central line, carefully attach the IV tubing to your catheter by using a push and twisting motion to secure the connection. To learn how to start the TPN infusion process, read our following article: A Complete Step-by-Step Guide for Administering TPN.
- Once the TPN infusion process is complete, clamp your lumen back and carefully disconnect the IV tubing from the catheter.
- Perform the post-flushing of the lumen by following steps 3 – 7 above and cover the lumen ends with aseptic caps.
Speak to a Specialist About Copay Assistance
Locking the Central Line Lumens
The method of locking the central line is similar to flushing the lumen; you will only use heparin instead of saline. The purpose of locking the central line is to prevent the formation of blood clots in the catheter and at the catheter tip. It also helps to prevent microorganism adhesion and biofilm formation.
- Attach the pre-filled heparin syringe with the lumen by pushing it onto the lumen and turning it clockwise to lock it onto the lumen.
- Now, release the clamp on the lumen of your CVC and slowly start to push the plunger.
- Push 0.5 ml of heparin at a time using the push and pause method until all 3 ml of heparin is used.
- Clamp the lumen while keeping your thumb on the plunger, unscrew it, and remove the heparin syringe carefully.
- Cover the lumen end with the aseptic cap.
Repeat the flushing and locking steps with the saline and heparin solution on the other lumens if you have more than one.
Flushing and Locking of Implanted Port Central Line
You can apply an anesthetic cream 1 to 4 hours before infusion to reduce the discomfort of needle insertion. Over time, the skin over the port thickens, making it less sensitive to needle sticks.
Cleaning the Port Site
- Sterilize the skin (catheter site) with an aseptic solution for 30 seconds back and forth, up and down, sideways, and in a diagonal pattern.
- Allow the port site to dry for 30 seconds.
Access the Implanted Venous Device
- Use one hand to stabilize the border of a venous access device and use the other hand to pick up the Huber needle with a syringe attached.
- Grasp the wings of the safety needle with your thumb and middle finger.
- Insert the needle carefully into the septum (silicone top) at a 90-degree angle perpendicular to the skin surface and advance the needle through the skin and septum until it makes contact with the bottom of the port reservoir.
- Once you’ve successfully placed the needle, remove the protective cap from the needle wings, stabilize the needle wings, and apply an antimicrobial patch around the needle.
- Now, place a sterile dressing (bandage) on the skin covering the port to lower infection risk.
- Administer a 10 ml saline solution by slowly pushing down the plunger.
- Push about 1 – 2 ml of saline at a time using the push and pause method until all the saline is used from the syringe.
- While injecting, observe skin around the Huber needle site for leakage of fluid or infiltration to access the device.
- Once you’ve injected the saline solution, gently remove the syringe from the end cap and clamp the tubing.
- If you’re giving a TPN infusion, leave the needle in place for the infusion. To learn how to start the TPN infusion process, read the following article: A Complete Step-by-Step Guide for Administering TPN.
- After infusion, perform post-flushing with normal saline (repeat from steps 1 – 9).
Locking Implanted Port Central Line Lumen
- Attach the pre-filled heparin syringe tip to the injection cap and flush using the push-and-pause method. When the syringe is empty, remove it from the end cap.
- Clamp the IV tubing.
De-accessing (Removing) Port Needle
- If you want to remove a needle from the port, hold the port steady with the fingers of one hand and gently raise the needle trap at a 90-degree angle with the other hand.
- Grasp the needle stick guard and hold it down firmly.
- While holding the stick guard firmly in place, grasp the flexible wings and pull upward until the needle is completely encapsulated in the needle trap.
- Cover the site with a bandage.
Central Line TPN Guidelines: When to Consult a Doctor
Consult your healthcare provider immediately if you have any of the following issues:
- Infection, swelling, or redness around the insertion site
- High fever
- Problems during flushing of the lumens
- Side effects like cardiac arrest, pneumothorax, or catheter-related bloodstream infections
REFERENCES:
- Practice Guidelines for Central Venous Access 2020. (2020b). Anesthesiology, 132(1), 8–43. https://doi.org/10.1097/aln.0000000000002864
- Tse, A., & Schick, M. A. (2020). Central line placement. StatPearls – NCBI Bookshelf. https://www.ncbi.nlm.nih.gov/books/NBK470286/#:~:text=Complications%20of%20central%20line%20placement,bleeding%2C%20infection%2C%20and%20extravasation
- Pittiruti, M., Hamilton, H., Biffi, R., MacFie, J., & Pertkiewicz, M. (2009). ASPEN Guidelines on Parenteral Nutrition: Central Venous Catheters (access, care, diagnosis and therapy of complications). Clinical Nutrition, 28(4), 365-377. https://doi.org/10.1016/j.clnu.2009.03.015
- Goossens, G. A. (2015). Flushing and locking of venous catheters: available evidence and evidence deficit. Nursing research and practice, 2015. https://doi.org/10.1155/2015/985686